
Email campaigns
Email campaigns in Clients lets you write one message for a group of studio contacts. Start with a Print sale, Review request or Mini-session template, check the message, then send it now or choose a date.
Your drafts and contact list stay on your server. Messages go through the mail account your server already uses, with your studio’s name and colour and an unsubscribe link. Campaigns do not change your photographs or share a gallery for you.
Before you start
Section titled “Before you start”- Ask your administrator to set up email delivery through a connected Gmail or Microsoft account, or SMTP. Your mail provider’s sending limits and charges still apply.
- Set a Public server URL that recipients can reach. Campaigns need this address for unsubscribe links.
- In Clients, choose Branding to check your studio’s name and colour.
You can save drafts and preview them before delivery is ready. If you see Connect email delivery and set your public address before sending., finish these steps before testing or sending.
Write a campaign
Section titled “Write a campaign”Open Clients, then Email campaigns in the left rail.
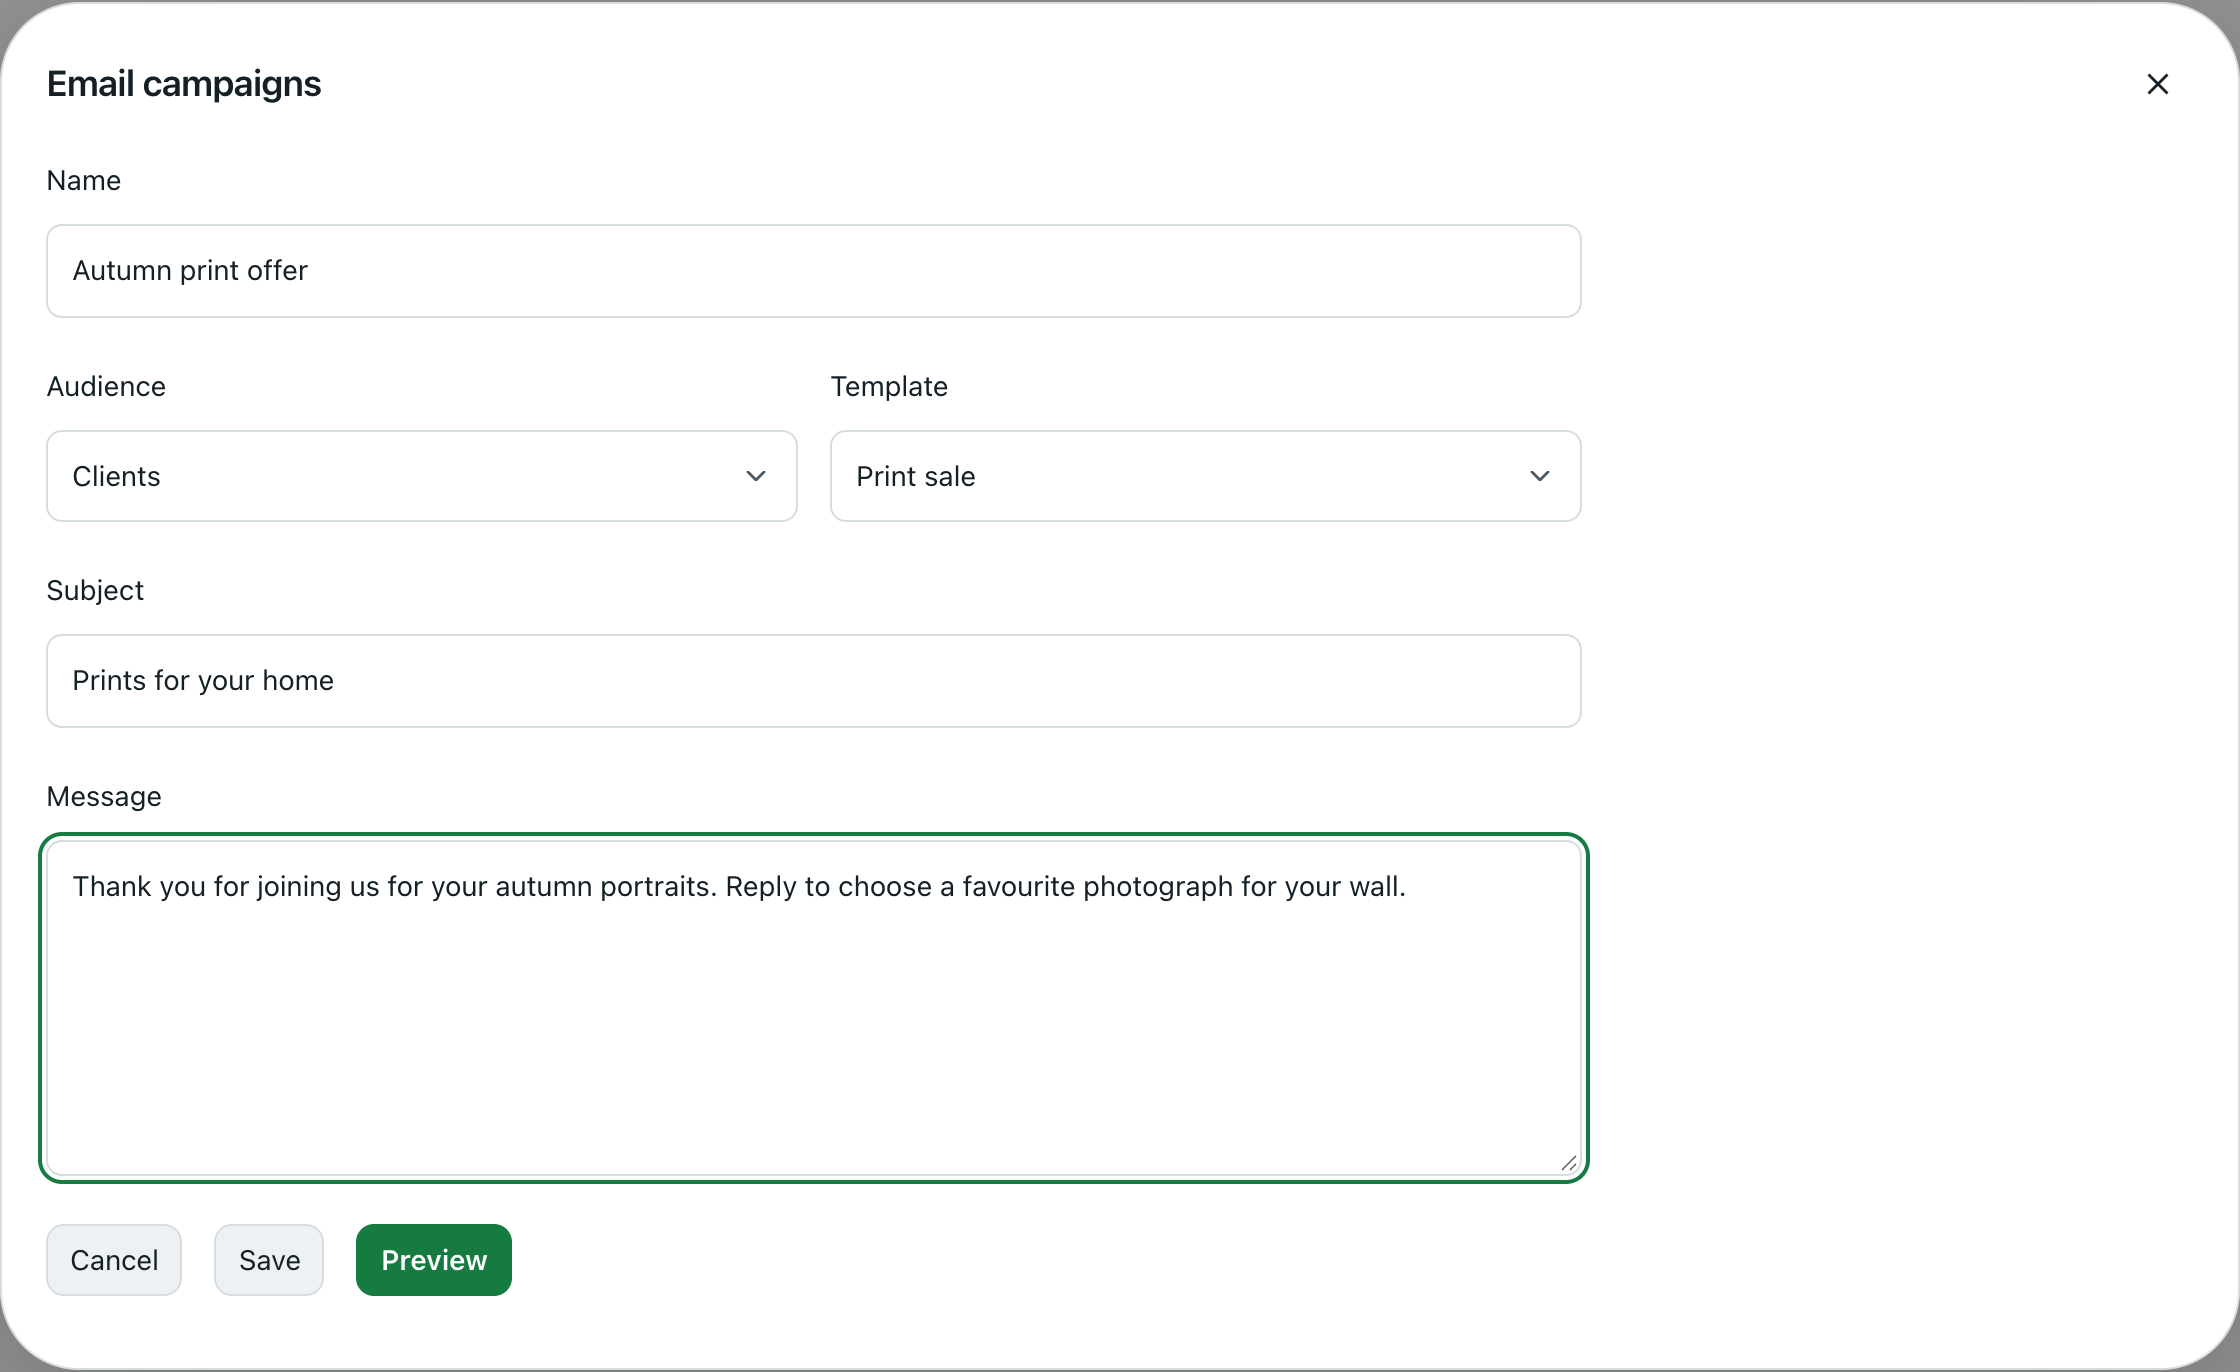
- Select New campaign and give it a Name so you can find it again.
- Choose an Audience from the table below.
- Choose a Template: Print sale, Review request or Mini-session. Each fills in a starting Subject and Message. Changing the template replaces those two fields, so choose it before writing your own wording.
- Edit the Subject and Message. Use plain text; HTML is shown as text rather than used to format the email.
- Choose Save to keep a Draft, or Preview to save and check how the email looks. Choose Edit beside a draft to return to it later.
| Audience | Who it includes |
|---|---|
| Clients | Contacts collected from your client gallery recipients |
| Leads | Contacts collected from enquiries and booking requests through your studio website |
| All | Both groups |
| A shoot’s recipients | Recipients of the shoot you choose in the extra field |
Contacts are kept separately for each studio. The same email address is included once, and unsubscribed contacts are excluded. Someone who is both a client and a lead is counted as a client. Someone who books more than once is listed once, under the name from their latest booking. Review the recipient count in Preview before continuing.
Preview and send a test
Section titled “Preview and send a test”Preview shows the rendered email, its sender and the number of recipients. Check the subject, message, studio branding and sending address.
Select Send test to me to send a copy to the studio owner’s Frameleaf account email address. It does not send to the campaign’s audience. Look for Test email sent to the studio., then check that inbox and its junk folder. Wait a minute before requesting another test.
Choose Edit to change the message, then Preview again and send another test if needed. A test checks the copy you have saved; changing it means you should check it again.
Send now or schedule
Section titled “Send now or schedule”- From Preview, choose Send or schedule.
- Review the audience and message. Under Send date and time. Leave empty to send now., either leave the field empty or choose a future date and time in your device’s local time.
- Choose Confirm send now or Confirm schedule.
The campaign shows Scheduled while it waits or sends. Frameleaf sends gradually and pauses when the mail account asks it to slow down. The chosen time is when sending can begin, rather than a promise that every message arrives at that moment. Keep your server running and connected to the internet.
The recipient list is chosen when you confirm. Later enquiries are not added to that campaign, and contacts who unsubscribe before their message is sent are skipped. A scheduled campaign cannot be edited; choose Cancel to stop it and create a new draft if the message needs changing. A message already being sent may still arrive after cancellation.
If you see Campaign couldn’t be updated. Refresh and try again., choose Refresh and check the campaign’s status before trying again. If another browser changed the draft, open it again and review the latest preview before confirming.
Check results
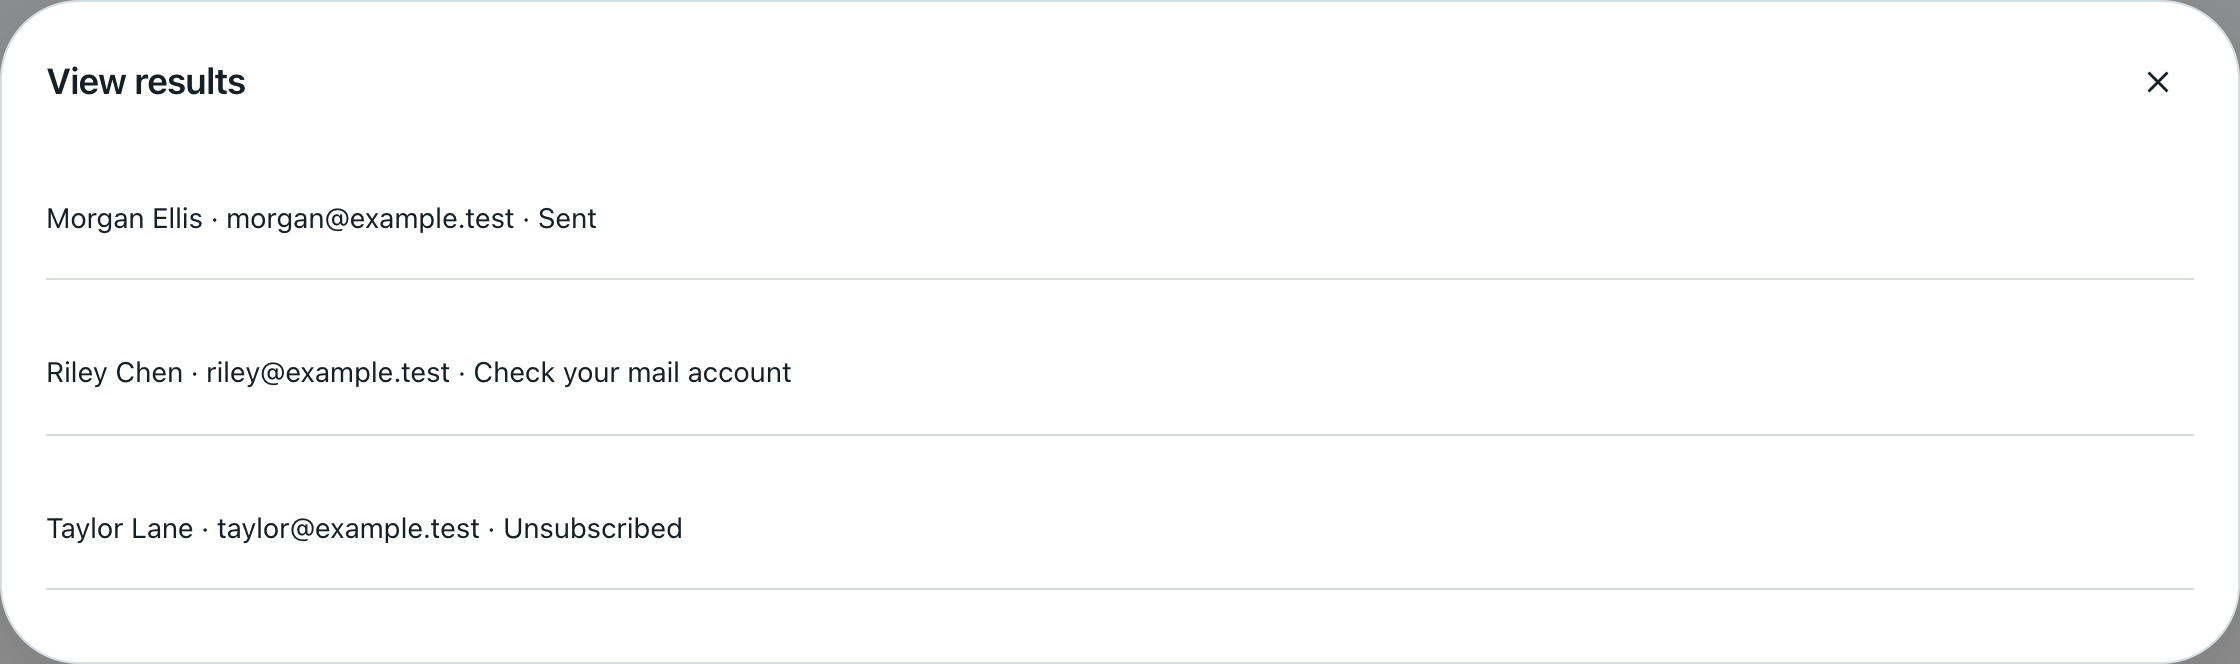
Section titled “Check results”Choose Refresh to update the campaign list, then View results beside a scheduled, completed or cancelled campaign to see each contact’s status.
| Result | What it means |
|---|---|
| Pending | Waiting to be sent, or waiting for the mail account to become available again |
| Sent | The mail service accepted the message. This does not confirm inbox delivery or that the person read it |
| Failed | The sending attempt failed |
| Check your mail account | The mail service may have accepted the message, but Frameleaf could not confirm the result. Check your sending account before sending another copy |
| Unsubscribed | The contact opted out and this message was skipped |
An uncertain attempt is not automatically sent again, to avoid duplicate emails. If Pending messages stop progressing, ask your administrator to check Email delivery, including whether the account needs to sign in again. A Cancelled campaign may still have pending contacts that will no longer be sent.
Completed means there are no more pending messages. Review any Failed or Check your mail account results separately. Campaigns do not track email opens or link clicks.
Unsubscribe
Section titled “Unsubscribe”Each campaign email includes Unsubscribe. The recipient opens that link and confirms to stop future campaigns from your studio. Mail apps that support one-click unsubscribe can offer it alongside the message too.
The opt-out is remembered for that email address even when the contact is found again through a gallery or enquiry. It affects studio campaigns; it does not delete the person’s photographs, close their gallery or change their account’s notification settings. A message already being sent may still arrive.
© 2026 Frameleaf Inc. All rights reserved.
Frameleaf and the Frameleaf logo are Trademarks of Frameleaf Inc.