
Clients
Clients is for photographers who work for other people. It keeps each shoot together with its client, lets you cull and rate the contact sheet, develop the keepers, send a private gallery for the client to choose from, and deliver the finished photographs with your own branding. Everything lives on your Frameleaf server, and your originals stay in your library.
This guide covers getting started, shoots and your studio settings. For proofing and delivery, see Client galleries. For your public portfolio, see Studio website. To take card payments, share payment links or let clients book sessions from your website, see Payments, payment links and bookings. To have a client sign an agreement, see Contracts. To bill a client with a deposit and online payment, see Invoices. To send a print offer or review request to studio contacts, see Email campaigns.
Start using Clients
Section titled “Start using Clients”Clients is switched off until you want it.
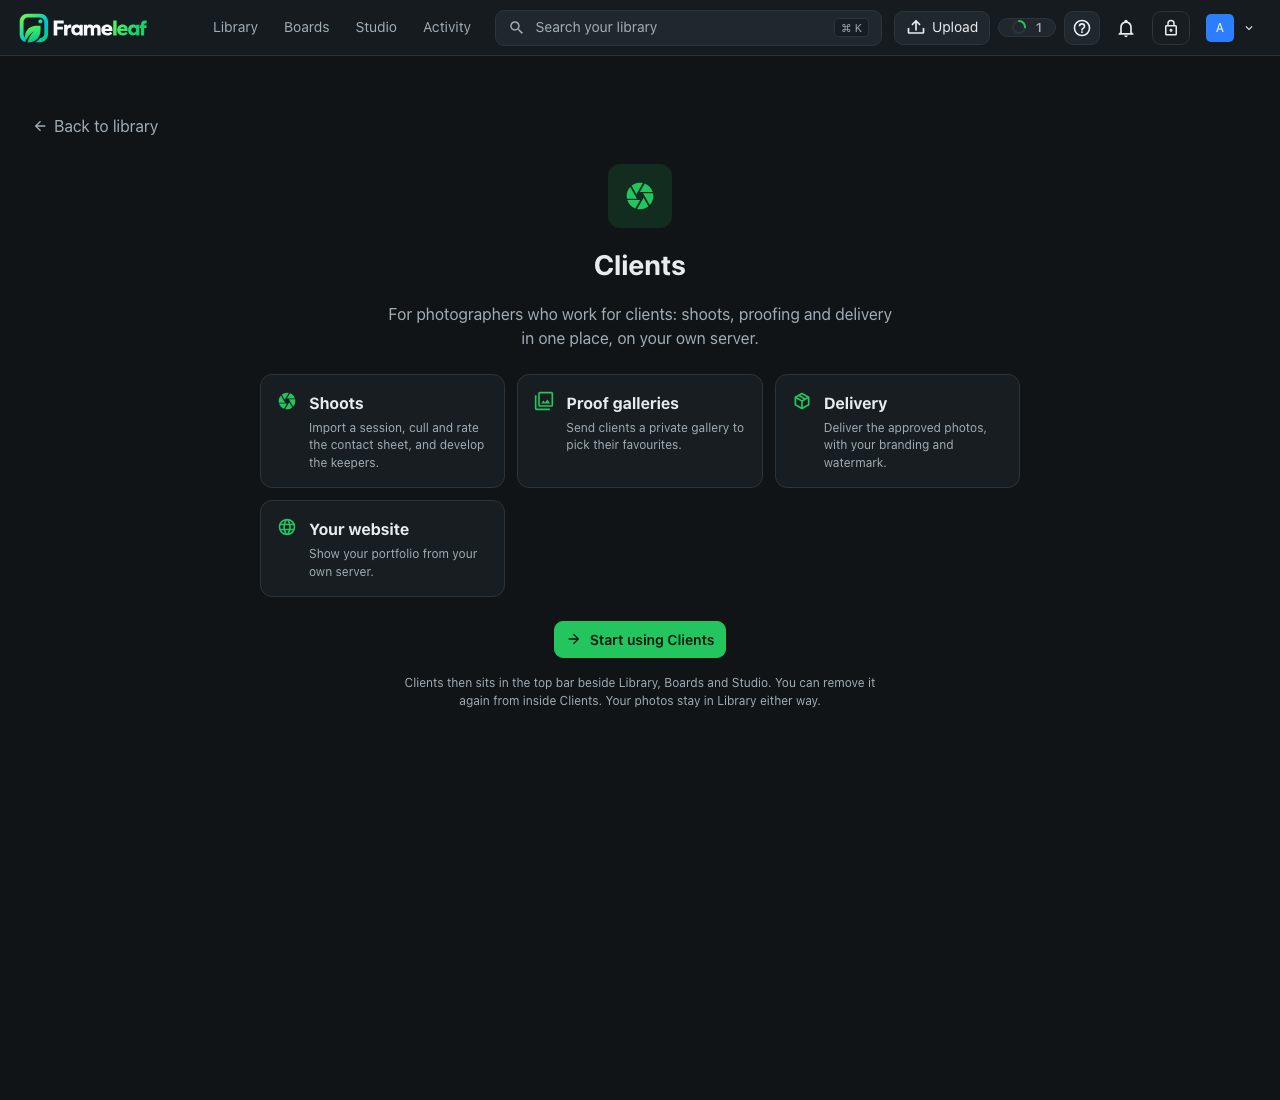
- In the library’s side rail, open Clients under Tools. An introduction explains Shoots, Proof galleries, Delivery and Your website.
- Select Start using Clients.
Clients then sits in the top bar beside Library, Boards and Studio, on every device you sign in on. To put it back under Tools, open Clients and choose Remove from the top bar. Your shoots and galleries are kept.
Find your way around
Section titled “Find your way around”The rail on the left has two groups:
| Where | What it’s for |
|---|---|
| Shoots | Every shoot, with what needs doing next |
| Contracts | Agreement templates your clients sign online. See Contracts |
| Invoices | Itemised invoices with a deposit, online payment and reminders. See Invoices |
| Booking types | Sessions clients book from your website, with add-ons and a deposit. See Bookings |
| Payment links | Links for a set amount, paid by card. See Payment links |
| Payments | Connect your studio’s Stripe account. See Connect a payment account |
| Email campaigns | Write, test and schedule messages to clients and enquiries. See Email campaigns |
| Website | Your public portfolio. See Studio website |
| Watermarks | Reusable text and logo marks for proofs, web previews and exports |
| Branding | Your studio’s name, logo, colours and contact details |
| Publishing | Where your website and galleries live, and how clients reach them |
RAW compatibility at the bottom of the rail opens the list of cameras your server can read.
Shoots
Section titled “Shoots”A shoot links an album you own to a client. The photographs, ratings, stacks and saved edits stay in that album. The client and shoot details are private to you.
Start a shoot
Section titled “Start a shoot”- Open Shoots and select New shoot.
- Enter the Shoot name and Client, and choose a Shoot type (Wedding, Portrait, Family portrait, Event, Commercial, Editorial or Personal) and a Shoot date.
- Under Source album, choose an album you own that isn’t already linked to a shoot. No album yet? Create album first.
- Select Create shoot.
The Shoots page shows your Active shoots, how many are Awaiting selections or In the editing queue, and any Orders awaiting payment. Your next steps lists what each shoot needs, such as Import the first photographs, Invite your client, Review client selections or Finished photographs are ready. Search by shoot or client name, and sort by Newest first or Shoot name.
A shoot’s sections
Section titled “A shoot’s sections”Open a shoot to see its tabs, in working order:
| Tab | What you do there |
|---|---|
| Photographs | Cull, rate and compare, then open the editor |
| Intake & assembly | Bring files in and put them in order |
| Client workflow | Choose how the client proofs, chooses and pays |
| Orders & delivery | Review selections, confirm orders and approve finished versions |
| Gallery | Publish the gallery and invite the client |
| Presentation | Design the gallery’s cover, chapters and layout |
The last four are covered in Client galleries.
Bring the photos in
Section titled “Bring the photos in”On Intake & assembly, use Import files or Import folder to add photographs to the shoot’s album, then Scan album to refresh the list. RAW and JPEG pairs stay stacked together.
Under Chapters & sequence, select Add chapter to split a long day into parts, such as getting ready, the ceremony and the party. Each photograph keeps its photo number through selection and delivery. To change several photographs at once, select them and use Assemble selected captures: only the fields you tick are applied, and a camera clock correction keeps the original capture time. Save assembly when you’re done.
Cull and rate
Section titled “Cull and rate”On Photographs, click a photo, then work from the keyboard:
| Key | What it does |
|---|---|
| Arrow keys | Move between photos |
| 1 to 5 | Rate with stars |
| X | Reject |
| 0 | Clear the rating |
You can also select photos and choose Keep, Reject or Clear rating. With two photos selected, Compare shows them side by side. The filter switches between All, Selected and Edited.
The panel beside the grid shows the Shoot details (name, client and Stage), how many photos are Kept for proofing, Edited and Rejected, and each photo’s Saved versions.
Develop the keepers
Section titled “Develop the keepers”- Open in RAW editor opens every RAW photograph in the shoot in the RAW editor.
- Open photo and editor opens one photo in the library’s photo editor.
- With several photos selected, Batch RAW editing copies the adjustments you tick from one saved RAW version to the others. Subject and sky masks are worked out again for each photograph, and brush strokes stay with their own photograph.
Saving an edit doesn’t release it to a client. You approve a version in Orders & delivery before it’s published.
If the album goes missing
Section titled “If the album goes missing”If the shoot’s album is deleted, or now belongs to someone else, the shoot says The source album is unavailable. Your private shoot details are kept. Restore access to the album to carry on, or choose Remove this shoot.
Branding
Section titled “Branding”Branding keeps every gallery and delivery recognisably yours. It’s shared across your portfolio and client galleries.
- Studio identity: your Studio name, Tagline, Contact email and Phone.
- Studio logo: choose an image you own from your library (PNG, JPEG or WebP, up to 500 KB; Locked images are left out), or Use initials.
- Typography and colours: the gallery typography, an Accent colour and a Light or Dark palette.
Select Save branding when you’re done.
Watermarks
Section titled “Watermarks”Watermarks holds reusable marks with your studio name, a script signature or your logo.
- New signature makes a small mark for web previews. New repeated proof makes a pattern across the whole picture, to protect unedited proofs.
- See it on the photograph shows the mark on one of your own photographs, as a Proof, a Web preview and a Clean download.
- Under Defaults for new collections, choose which preset to Use for proofs, Use for web and Use for exports.
Select Save watermark presets. Existing collections keep the watermark they were saved with. To change one, apply the new preset in the shoot and publish the collection again.
Publishing
Section titled “Publishing”Publishing shows where your website and galleries live. Your Frameleaf server hosts the photographs, so it must stay online for clients to reach them. Frameleaf Cloud keeps no hosted copy, and can’t read your gallery photographs.
What is published lists three parts:
- Studio website: home, portfolio, about and the inquiry form.
- Proof galleries: only for clients with their invitation link.
- Delivery pages: where clients download their finished photographs.
Select Publish studio website to put the website online, and Stop publishing to take it down. Open studio website shows what visitors see. Clients need to be able to reach your server from outside your home. See Remote access.
Good to know
Section titled “Good to know”- Shoots and local editing are yours on every plan. Your originals stay on your server.
- A shoot doesn’t copy your photos. They stay in the album you linked, in your library.
- Locked items, RAW sources and rejected photos are never downloadable from a client gallery.
© 2026 Frameleaf Inc. All rights reserved.
Frameleaf and the Frameleaf logo are Trademarks of Frameleaf Inc.